
***
If there's one thing I'm grateful for the hipster community for, it's turning space into a trend.
 |
| Quoting the inimitable Hank Green. |
Seriously, how could you not like these? Or space in general?
Quite unabashedly, I love galaxy prints simply because they're so pretty (...I get really guilty when I like something just because it's pretty).
Once upon a time I bought these Vans canvas shoes. I thought they were pretty cool back then; besides, they fit me (they're a Men's 11). I have a hard time finding shoes that fit me around here (which is why I treasure the nice shoes I actually have). Now I think they're really ugly; besides, I was never able to wear them with anything that really matched. I've always wanted to do something to them. So when I saw Lorra Angbue-Te's post on D.I.Y. Glitter Shoes I finally decided to get off my butt and do it.
I looked for some shoe-painting tutorials; there are thousands on the Internet solely dedicated on teaching you how to paint shoes in a galaxy pattern.
One of my good friends, Corinne, was my first tutorial and inspiration on the project. (She's not only an amazing person, she's also amazing in fashion and art - go check her out!) To this day this tutorial still helps me paint galaxies (I never thought of putting the oranges and pinks on first before the blacks! Thanks, Corinne!).


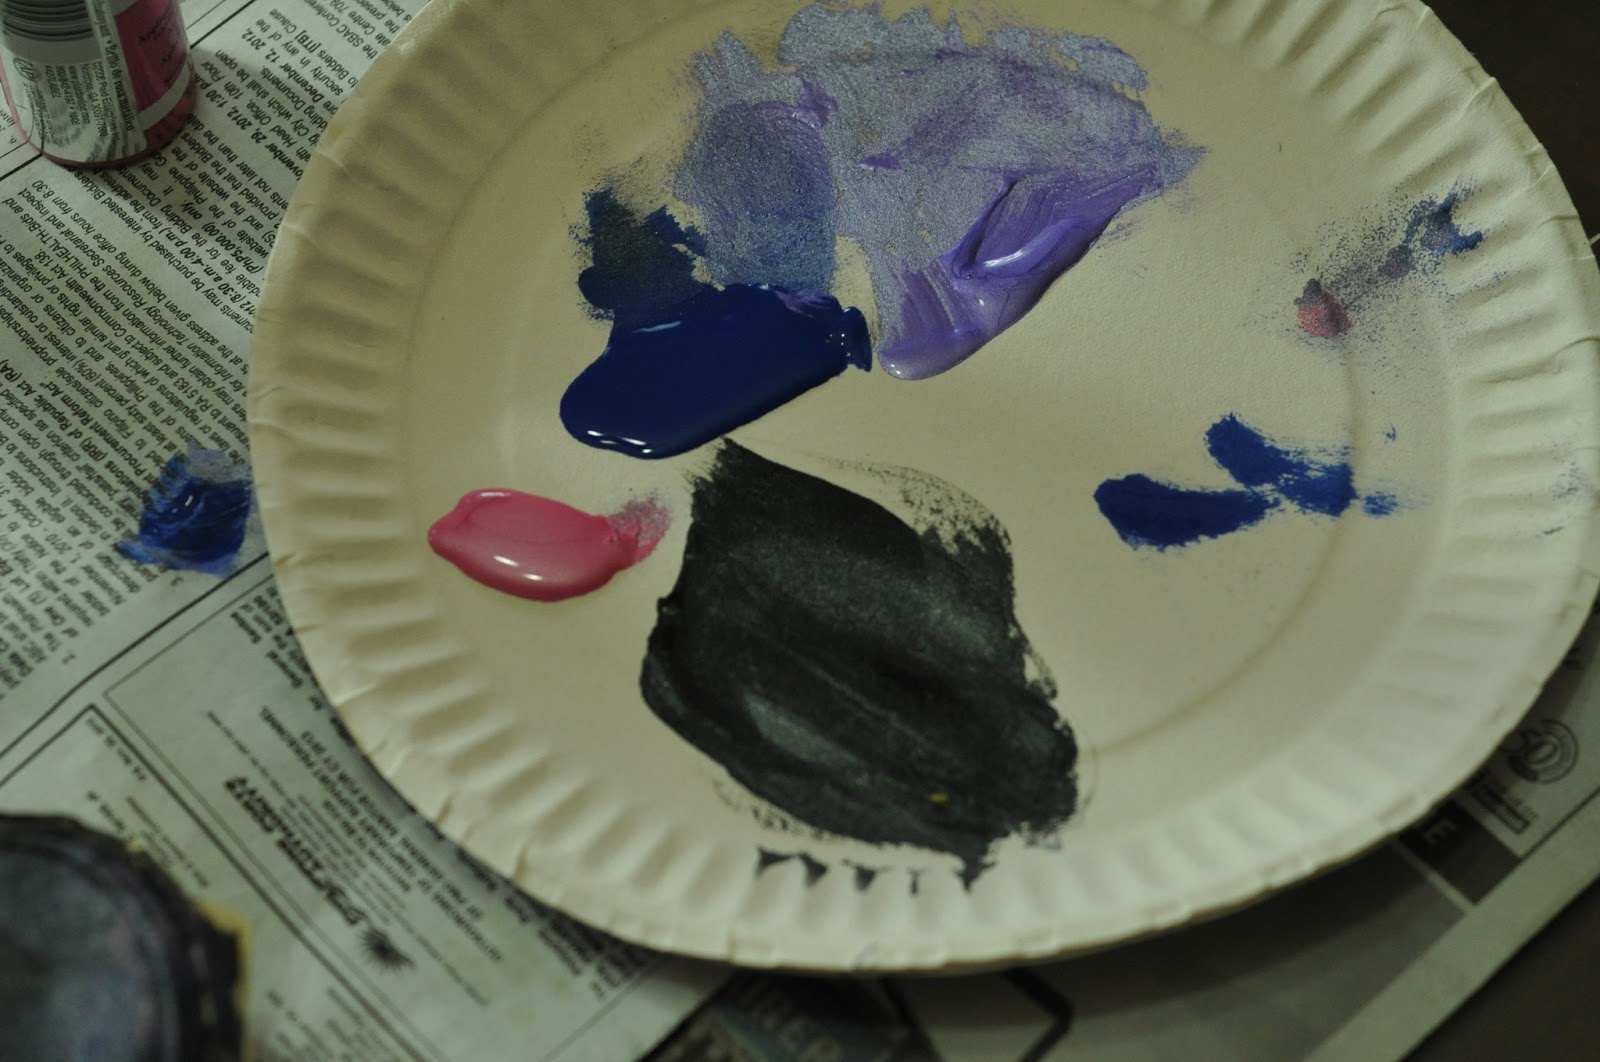
MY MATERIALS:
- Shoes
- Folk Art Fabric paint
- 4426 Licorice (Black)
- 4400 Wicker White
- 4436 Metallic Silver Sterling
- 4434 Metallic Amethyst
- 4427 Metallic Rose Shimmer
- 4421 Brilliant Blue
- A large paintbrush
- A fine-tipped paintbrush
- A sponge
- A paper plate
- Masking tape
- Old newspaper
{ STEP 1 }

I had the shoe washed. Scrub it clean; you don't want to be painting on a dirty surface. At this point you can no longer turn back because, by personal experience, the red parts blurred all over the shoe when the job was done. The white turned into pink, and... blah. It was just really horrible.
After that, let it dry.
Note that I used canvas - not leather, not rubber, or anything else. I'm not sure if you can wash any of those.
{ STEP 2 }


Let's be honest, I got way too excited to start painting that I didn't let the shoe dry as long as I should have.
It was still a little moist when we got back from SM North so I let the electric fan do the job. When it still wasn't dry enough, I gave up and started covering the bottom part of the shoe with masking tape. I also stuffed it with old newspaper, which not only gave it form while I was painting, but also helped it to dry. Hihi.
{ STEP 3 }

I covered the entire shoe in a mix of black and silver. This depends on you; if you want to add a bit of red or orange or blue, it's fine. Don't forget to paint thoroughly!
When the first layer dried, there were still remnants of the old checker pattern so I painted over another layer just to be sure.
{ STEP 4 }

Anyway, the important thing to remember is to not make anything too "sharp". Smooth the edges with the blunt (?) parts of your sponge.
I forgot to mention that I got this one at home; it was one of those huge, cheap ones for cars that I'd cut up prior to use on my nails. I hear dish sponges work just as great.
{ STEP 5 }

{ STEP 6 }


Now for the
Go crazy with the stars. Many of the tutorials I checked out only used a brush, but let's face it, the Universe is too big for just a couple of stars.
I used a combination of the fine-tip, light dabbing with the sponge, and the tine of a plastic fork. Rakenrol.
***


FIN!
***
So that's one piece of the galaxy in my wardrobe, haha! I do hope galaxy prints never go out of style because 1) my whole afternoon yesterday would've gone to waste, 2) galaxies are cool. Why would they ever go out of style, honestly?
Pictures by yours truly. :)
No comments:
Post a Comment